Just start with a square and size it to your liking. I make mine 5" tall and 2" wide to start so is now more of a rectangle. Duplicate the rectangle once for each letter in the word book and drag aside.
Insert text. I chose to do mine one letter at a time but you could type the whole word and then separate the letters to alter each one. Take the first letter and resize it so that it is about as tall as your rectangle. Adjust the width to your liking. It helps to unlock the proportion lock. It should over lap the rectangle enough to be able to weld. Chunkier fonts work much easier than thinner ones. I used Cricut Keystone.
Once the first rectangle and letter look good, duplicate both the letter and the rectangle and set aside. They will be needed later. Weld the rectangle and letter together.
Grab the next rectangle and drag it on top of the first welded piece. I start with it being the top layer. I prefer to use the mouse and resize images by dragging. The sizing can all be done from the edit panel as well. Make sure to keep the height at the correct measurement and increase the width either by dragging or using the edit function. Once it is wider than the bottom welded piece, I move it to the back and adjust the length to my liking. The length should be just slightly shorter than the letter on the first welded piece. Take the second letter and place it on the new rectangle. Make adjustments until it looks correctly placed - either by changing the length of the rectangle or the size of the font. Duplicate the letter and the second rectangle, set them aside and then weld the second rectangle and letter together.
Keep going in this fashion until all letters of the word are complete.
Before cutting, eyeball the length of the longest welded piece. If longer than 11 inches select all and lock the proportion lock. Resize until the widest welded piece fits in the allowable cutting space. I believe the actual cutting space is larger than 11 inches but I'm too chicken to push the limit!
The book base (all the welded pieces ) are cut from thin chip board or cereal boxes. The duplicate copies of the rectangles that were made will be used to cut out decorative paper to adhere to the fronts of the chipboard welded pieces. The duplicate letters created will be adhered to the front of the welded letter piece to give it more definition. Place the duplicate letter on top of the duplicate rectangle that is adhered to the chipboard welded piece. For the back pages of the book, cut the welded pieces again but this time out of decorative paper instead of chipboard. Either mirror the image or use double sided paper.
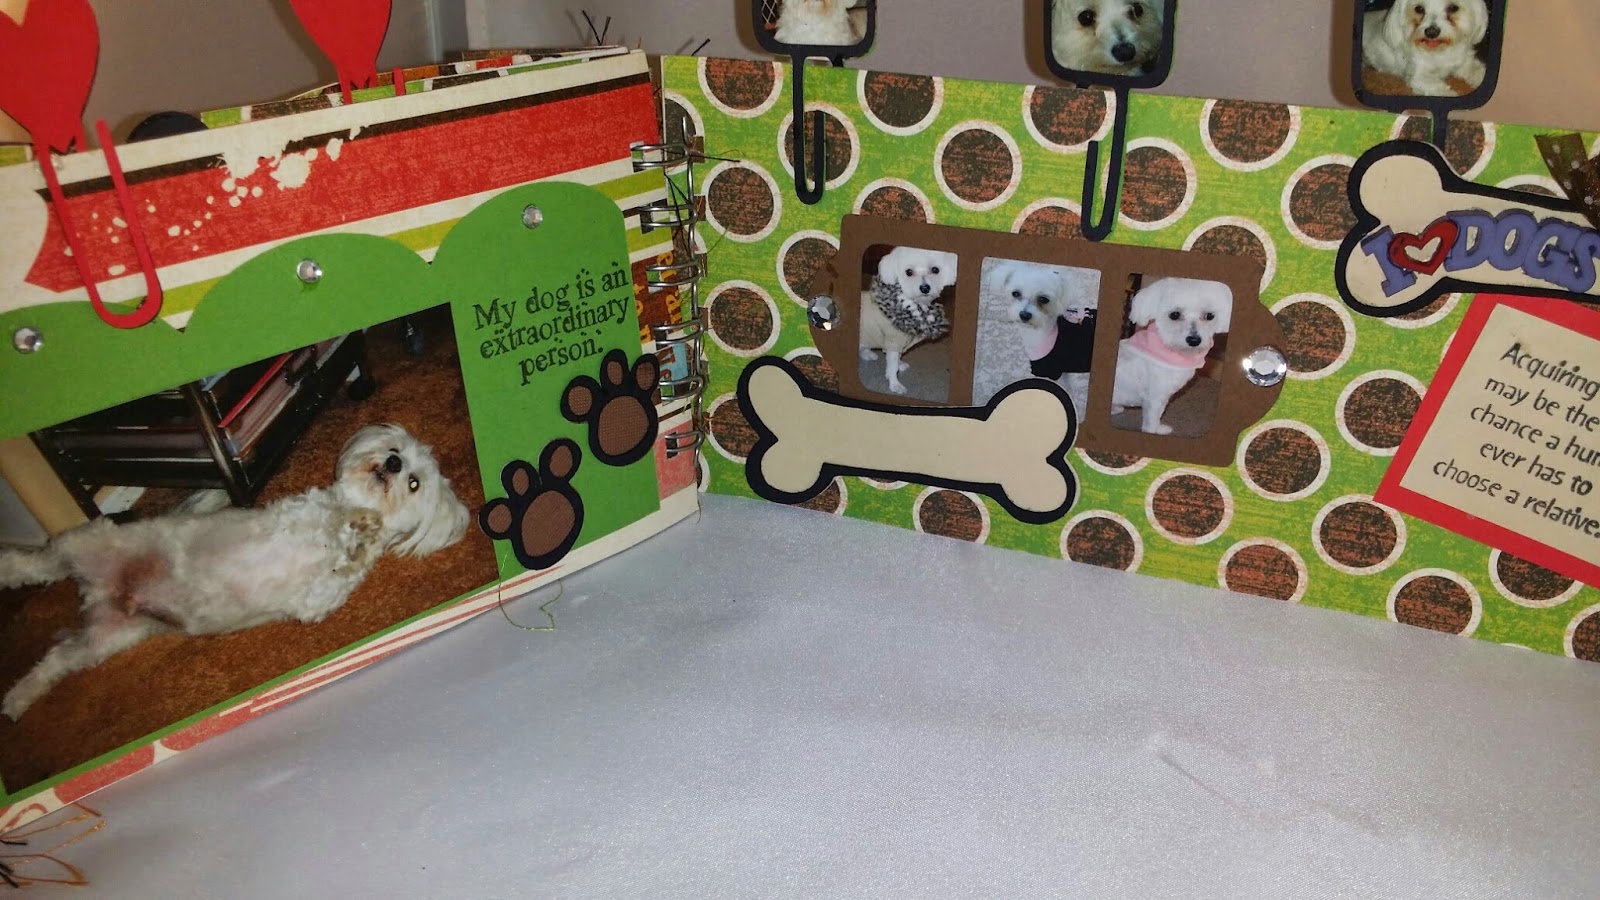
I am not sure where the paper clips, frames and embellishments originated from. I made them all but they have been in my stash a long, long time. If memory serves right, it could be Tags, Bags, Boxes and More or possibly a Sizzix die.
The Bind-It -All was used to hold the book together. I don't use that tool nearly as much as I should. It does a great job but every time I go to use it I have to get the manual out and re-learn it. sigh....
 |
| Note to self: Buy new light box. This one is really ugly. |


Below is a screenshot of part of the file. The duplicate rectangle pieces are lower and you would need to scroll to view.

My first attempt at sharing a file so hopefully it works.
No comments:
Post a Comment
**I love hearing from you and appreciate all comments**