Showing posts with label Techniques and Tutorials. Show all posts

Wednesday, March 4, 2015

Vinyl on Glass Cutting Board

One of the hot items to find when you're out shopping right now is the mini see through cutting boards at the Dollar Tree.  I've been to every store on my side of town without luck.  Last weekend I finally scored and found 4 of the round ones.  They are small - about 7 3/4 inches in diameter.  The small size and small cost make them a perfect canvas to practice on while learning to work with vinyl.

I picked up this free SVG file today at My Scrap Chick and liked it so much I decided to use it on one of the mini cutting boards.

Here are a few mistakes I made and will hopefully not repeat next time:
  • When working on a non porous surface like glass use the wet method to apply the vinyl.  The first time I applied the vinyl dry and was unable to remove all the bubbles so I scraped it off and started over. 
  • Put a little bit of liquid soap in the mister bottle and shake well. 
  • Use a mister bottle that sprays very fine. Less water is better than more.
  • The wet method will also be more forgiving.  If the artwork goes on a bit crooked there is some forgiveness and it is possible to reposition it.
  • When using the wet method, don't use clear contact paper as the transfer tape.  It takes longer for the water underneath to dry than it does when using paper backed transfer tape.  I want instant gratification and don't want to wait 24 hours to remove the tape!  I was doing good to wait 30 minutes and had to work carefully with it even then.
  • If planning on placing the artwork on the back side of the glass, don't forget to mirror the image before cutting!!!!  I had to do two cuts because I forgot the first time.
This sentiment is entirely true!

Tuesday, February 24, 2015

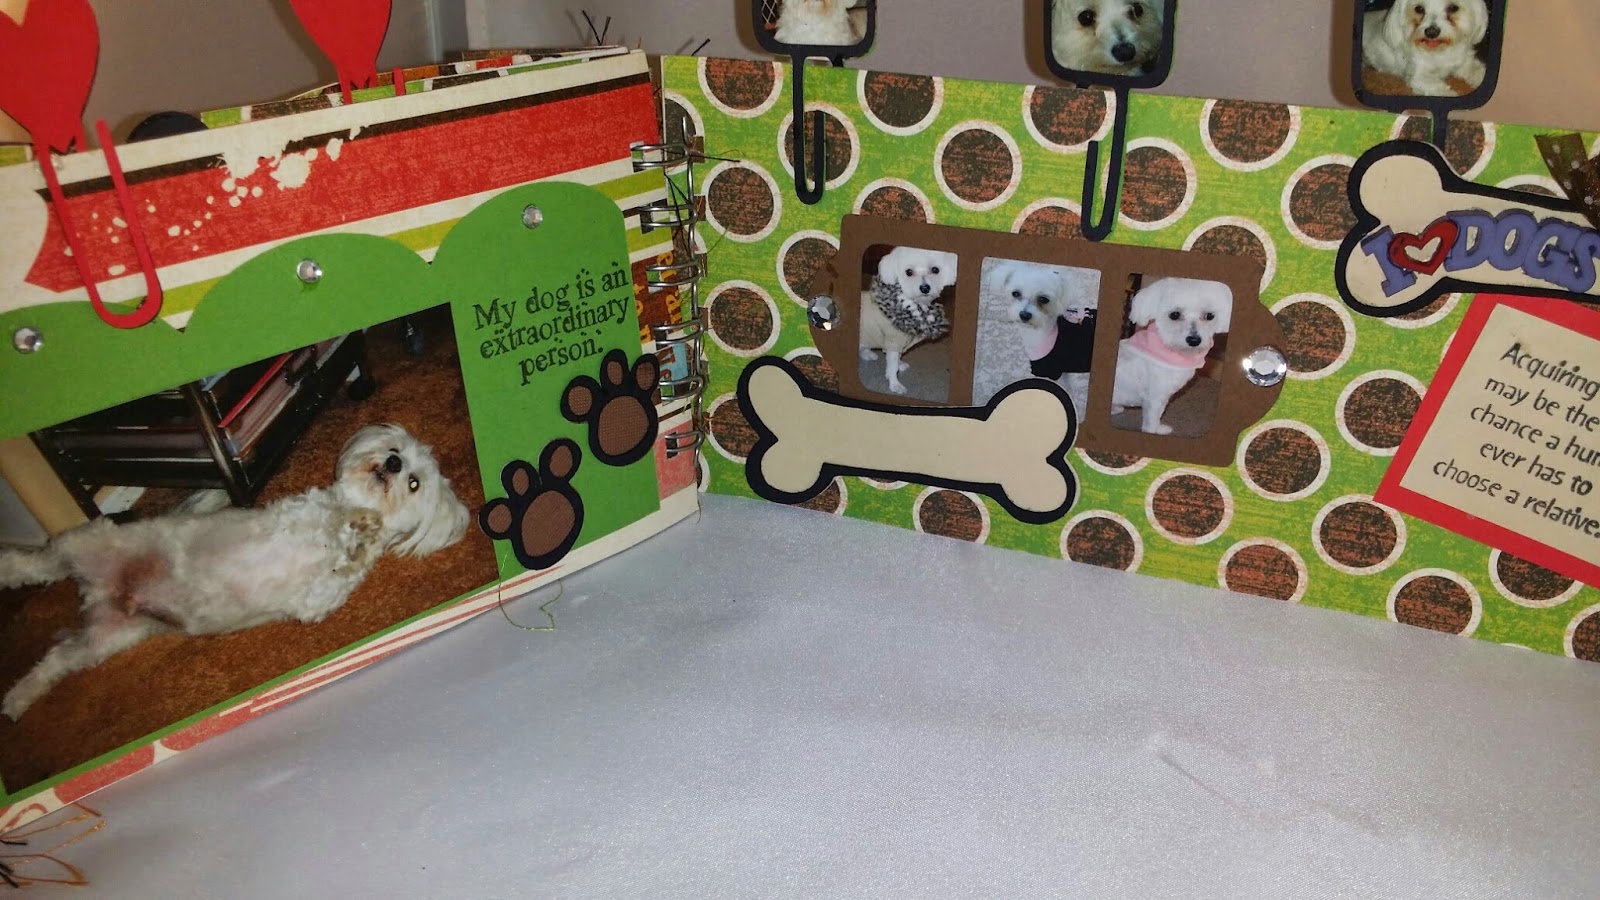
I Heart My Dogs Word Book Mini Tutorial

Word books are so much fun to do still.  I found they are very easy to create in Design Space.  The open area is easy to work with.  Remember - the fewer letters in the word book the easier it will be to read.  More letters mean the book needs to be smooshed together closer and the letters will overlap more.


Just start with a square and size it to your liking.  I make mine 5" tall and 2" wide to start so is now more of a rectangle.  Duplicate the rectangle once for each letter in the word book and drag aside.

Insert text.  I chose to do mine one letter at a time but you could type the whole word and then separate the letters to alter each one.  Take the first letter and resize it so that it is about as tall as your rectangle. Adjust the width to your liking. It helps to unlock the proportion lock. It should over lap the rectangle enough to be able to weld. Chunkier fonts work much easier than thinner ones.  I used Cricut Keystone.  

Once the first rectangle and letter look good, duplicate both the letter and the rectangle and set aside.  They will be needed later.  Weld the rectangle and letter together.

Grab the next rectangle and drag it on top of the first welded piece. I start with it being the top layer. I prefer to use the mouse and resize images by dragging. The sizing can all be done from the edit panel as well. Make sure to keep the height at the correct measurement and increase the width either by dragging or using the edit function. Once it is wider than the bottom welded piece, I move it to the back and adjust the length to my liking.  The length should be just slightly shorter than the letter on the first welded piece. Take the second letter and place it on the new rectangle.  Make adjustments until it looks correctly placed - either by changing the length of the rectangle or the size of the font.  Duplicate the letter and the second rectangle, set them aside and then weld the second rectangle and letter together.

Keep going in this fashion until all letters of the word are complete.

Before cutting, eyeball the length of the longest welded piece.  If longer than 11 inches select all and lock the proportion  lock.  Resize until the widest welded piece fits in the allowable cutting space. I believe the actual cutting space is larger than 11 inches but I'm too chicken to push the limit!

The book base (all the welded pieces ) are cut from thin chip board or cereal boxes. The duplicate copies of the rectangles that were made will be used to cut out decorative paper to adhere to the fronts of the chipboard welded pieces.  The duplicate letters created will be adhered to the front of the welded letter piece to give it more definition.  Place the duplicate letter on top of the duplicate rectangle that is adhered to the chipboard welded piece.  For the back pages of the book, cut the welded pieces again but this time out of decorative paper instead of chipboard.  Either mirror the image or use double sided paper.

I am not sure where the paper clips, frames and embellishments originated from.  I made them all but they have been in my stash a long, long time.  If memory serves right, it could be Tags, Bags, Boxes and More or possibly a Sizzix die.

The Bind-It -All was used to hold the book together.  I don't use that tool nearly as much as I should.  It does a great job but every time I go to use it I have to get the manual out and re-learn it.  sigh....


Note to self:  Buy new light box.  This one is really ugly.


Below is a screenshot of part of the file. The duplicate rectangle pieces are lower and you would need to scroll to view.


  My first attempt at sharing a file so hopefully it works. 


Sunday, October 16, 2011

Grungy Veined Flowers

Supplies Needed:


Flower die cuts  (3 large, 2 medium, 1 or 2 small)  I used a flower from the Flower Shoppe cartridge with the largest size starting at 3 1/4
Wilton Fondant Tool Set
Wilton flower forming cups
McGill Mat or other foam piece that has some cushion
TH Distress Ink
Mini mister with water
Hot glue or glue dots

I recently purchased the McGill flower making tool and mat set and use it often but really wanted something that would form bigger flowers more effectively.  After a bit of pondering, I remembered my Wilton fondant and flower tool set and the flower molding cups that I bought while taking classes at Michael's earlier this year.


Looking at these tools I could see where most of them could be used to manipulate paper just as easily as they do fondant.

To begin, I decided that I wanted to create some lines or veins in the flower petals so I used the olive green handled mini wheel.  On one end the wheel is smooth and creates nice lines and the other end is for a perforated look. When creating the lines work on a mat or other spongey surface so the creases created will be deeper.


I used the smooth wheel and ran a straight line from the edge of each petal to the center.  The teal handled tool is used to create veins in fondant leaves, so I used it to make some horizontal lines running from the center crease in each petal to the side edge.

You can see the creases in this next picture.  They are just random and not precise or neat.  I am going for a grungy more than a realistic look.  There are several other tools in the kit that could be used to make interesting textures and markings on flowers and other projects.


Using the Direct To Paper method, I used my Tim Holtz Wild Honey distress pad to color the flower.  Using the pad directly on the paper made some nice contrast and really caused the creased areas to pop.  I tried using one of the little TH sponges but it filled in the creases too much so the DTP method worked best in this instance.


To help break down the paper fibers and make the flower easier to form I sprayed the back of it lightly with a mini mister.  Spraying the back will prevent the ink from running into the creases and ruining the look.


M's and J's both have several different kinds of the Wilton plastic flower forming cups.  I used the smaller, deeper ones.  Take the slightly dampened flower and press it down into the cup, inked side up.  You can use your fingers to start it and then use one of the large ball end tools to gently rub a circular motion in the center of the flower to further break down the paper fibers and to cause it to "cup."  If the flower is large enough, bend the edges over the sides of the plastic cup if you like.  Set aside and allow to dry.


Repeat the above process for all of the flower die cuts. Allow each flower piece to dry in a separate plastic cup.  When working on the smallest flower, the cup isn't as useful.  The little flower can be formed easily with the ball tool or just bending it upwards with your fingers.  I used the cup just to help it maintain its shape while it dried.


There are two stick shaped tools in the kit that are perfect for curling the edges of the flower petals.  I used the smaller dark blue one for this flower and just randomly rolled either the edge of one side of a petal or the whole outer edge under.  Repeat for each flower piece.


The cups really work their magic once you begin to layer all the pieces together.  Keep one of the largest flower die cuts in its plastic cup and apply the adhesive of your choice to the center.  Stack another large flower on top, staggering the placement of the petals between the bottom layer's petals. Repeat with all layers.  I only used one of each size for this tutorial so my picture below will not show as many layers as needed for a full flower.  Use one of the ball tools to push the center down and hold until glue is dry (if using hot glue).  The thicker the layers get, the more the cup will push the flower up and give it lots of dimension.


Once the layers are assembled, remove the flower from the cup and make any desired adjustments like re-curling edges or pulling some of the petals up or down.

Below on the right is my finished grungy veined flower that I made earlier today with all the layers.  The two flowers on the left are made with TH Tattered Flowers die.  Although it's not as prominent and doesn't show up in the picture, I used the pointed tool with the light green handle from the kit to just randomly distress some of the petals on those two flowers and inked them with the distress ink and a sponge for a softer look.


I liked the results enough that I will dedicate the Wilton kit to paper flowers only and buy another kit to use with fondant.  I know they can be cleaned and would probably be fine to use with food, but best to not take any chances.

Thanks for stopping by my blog and I hope you have fun making lots of pretty paper flowers!

Sunday, October 31, 2010

Making Square Envelopes

I found a blog today called She's Crafty that has a good tutorial on making your own square envelopes.  Maybe it belongs to one of you?  I thought the information might come in handy for Imagine users.  Since we can not manipulate rectangle shapes to fit a 5 1/2 x 4 1/4 card front yet, I have been making a lot of square cards lately.   This very informative blog shows how to make a 3", 4" and 5" envelope.  Here's the link:
http://whatabunchofcraft.blogspot.com/2010/06/making-square-envelopes-with-martha.html
If you have the Martha Stuart Score Board, there are directions for making a 6 inch square envelope included.
I know they're not all that hard to do and some people don't even use a template, but it helps me to have some sort of a guide or reference.
If anyone does know how to create a rectangle to fit an A2 card on the Imagine.....please let me know!